3D Minecraft Fondant Birthday Cake
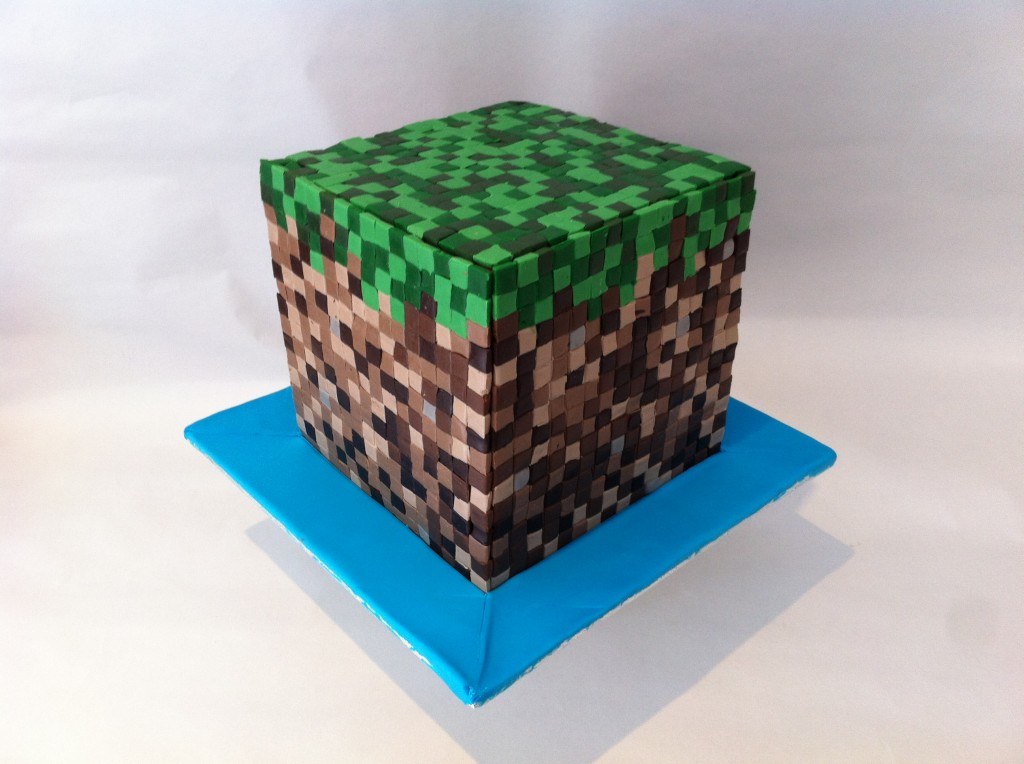
Minecraft is a game where you can explore, create, discover, mine and craft a whole world. In the game it takes patience to build anything. This cake is the same it takes 1,280 tiny fondant squares to make this 3D minecraft logo.
minecraft cake instructions
To start with you will need to make a cake. You can use a packet mix or if you’d prefer homemade like I do, then try either the vanilla cake recipe or the chocolate mud cake. Depending on the depth of your cake tin you will need to make two or three square cakes and then stack them on top of each other, sandwiched with buttercream to make a cube.
The cake I made once trimmed down, before icing was 15cm (5.91 inches) x 15cm (5.91 inches)
Trim down the edges to get an exactly square shape slightly smaller than your template and then smother in buttercream (buttercream recipes are here).
Use paper towel to smooth off you sides and sharpen your corners. See the video for a demonstration on how to do this and the rest of the cake.
You can purchase fondant or make your own, fondant recipe is here. Then you will need to colour it into your greens, browns and grey. If you have not worked with fondant before there is a post on fondant basics here. Allow approx 200g (7.05 ounces) of fondant for each colour.
Print the side template below. Cover it in baking paper and roll out one of your colours to the size of the white square. Using a pizza cutter cut strips and then turn to cut squares. The lines in the blue section will act as you guidelines for this. Repeat with all of your colours.
Click on the link below to download the block template free.
Take another piece of baking paper and lightly grease using butter or margarine or crisco, wipe off any excess with a paper towel. Place one edge of the paper along one edge of the white square on your template and sticky tape into position. Then line up your squares one row at a time to cover the white area, remember to add green squares at the top.
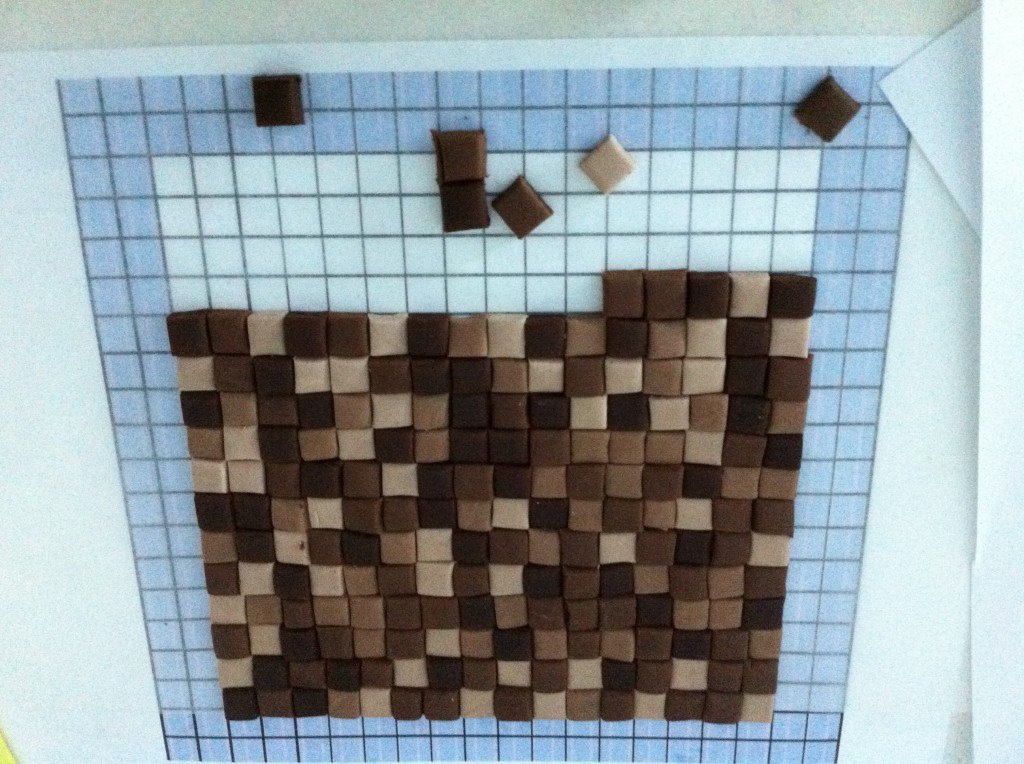
Lightly dampen the fondant using a paintbrush. Slide your baking paper onto something firm but thin, like cardboard. Line up the bottom edge with the base of the cake and then lift up and push into place. Remove the cardboard and use a fondant smoother to flatten, then peel off the baking paper. When you do the top green section do not put water on it, instead put the cardboard on top of it, and flip it over. Then put in position on the cake and slide the cardboard out of the way. Then finish the other sides in the same manner as the first.
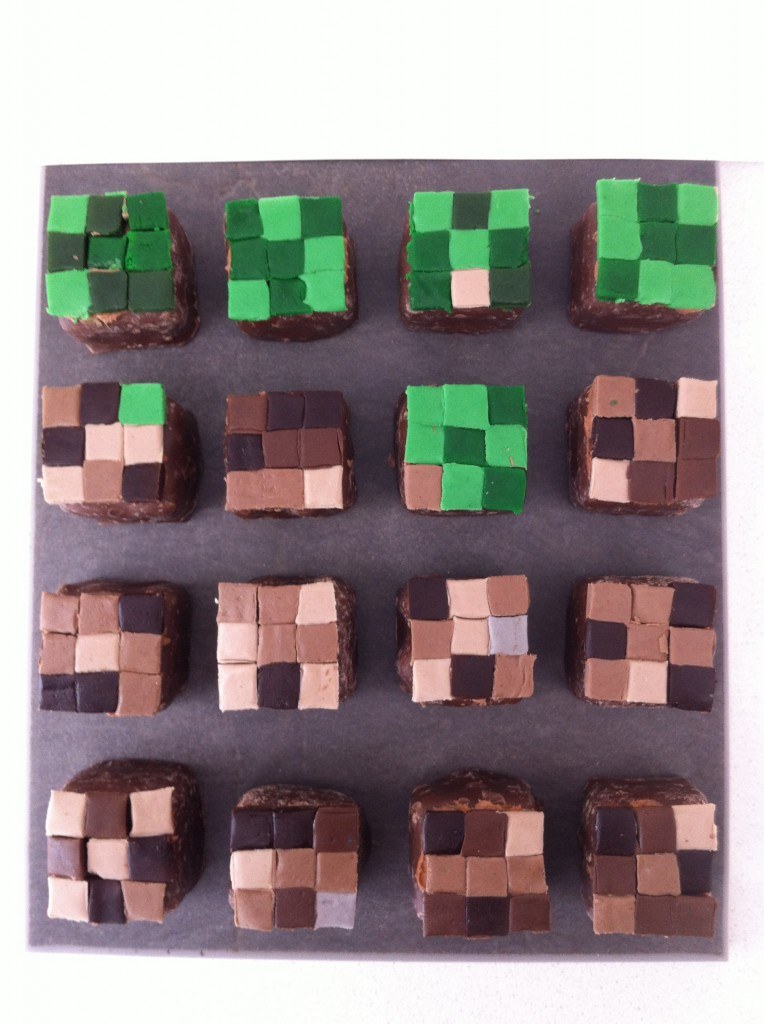
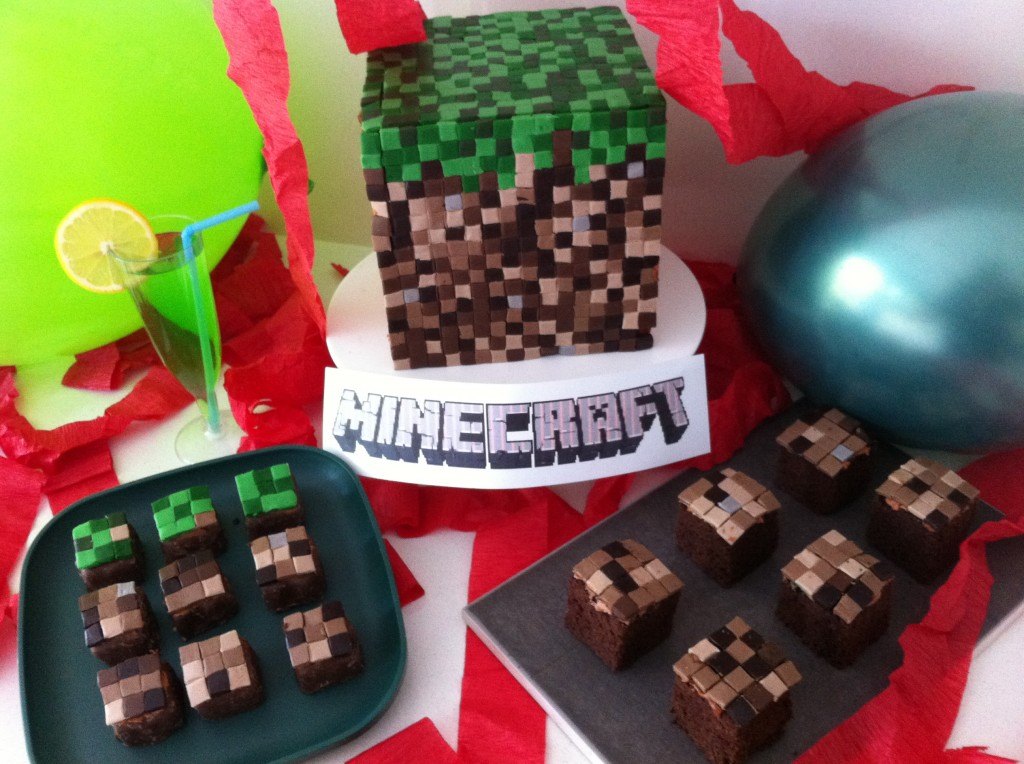
If you have left over fondant you can make more squares and use on pieces of cake or chocolate honeycomb squares.
4.3352
My Cookbook
 Stores that sell my book listed by country:
http://bit.ly/ARcookbook
All recipe quantities in the book are in grams, ounces and cups.





 we respect your email privacy


2credibility
Hi Ann, thank you for this great idea for my grandson’s birthday cake. I want to make the fondant sides and top before so I am not rushing. How far ahead can I do this and also the best way to store.
Many thanks
Absolutely brilliant. Instructions so so easy to follow. Thankyou
When you say 200g per colour is that 200g of each shade of green and brown?
Hi Ann, how far ahead can you make this cake so it is still fresh when cut? In other videos you brushed a syrup on the cakes before covering, but you didn’t on this one, any reason for that? Any ideas for a substitute fondant smoother?
Hi Givitago, Try a piece of acetate as a substitute fondant smoother. Cakes are best fresh, so we recommend making them no more than a day or two before serving at most. You can use Simple Syrup, it just depends on how quickly the cake will be consumed.
Ann – you are amazing! Thank you for all that you do. You have inspired and educated me on many of my kids birthday projects! Not sure if you still reply years later but it’s worth a shot. Am making this cake as an 8″x8″ with an interior checkerboard pattern too with chocolate ganache instead of buttercream. Am planning for 1″ squares inside and out. I want to cover my fondant squares in different colored green sprinkles/sanding sugar instead of making different color fondants. Planning to roll, brush with water, cover with sprinkles, cut squares. It’s summer in NYC and the party is outside in a park so heat/humidity are a concern. I have this feeling like i should cover the entire cake in fondant before I attach the squares because a) it will give the internal checkerboard more support and b) i’m afraid the squares will slide off the ganache in the summer heat. Do you think this is a good plan? Or will I end up with a double covered fondant cake that could crack people’s teeth? LOL
Hi xlime, I think I understand what you are intending to do. I definitely think you will need to cover the full cake with fondant first before you do the colored squares over the top. This will help with stability and give your surface squares something to adhere too easily. Ann did something similar with her soccerball cake As long as you don’t make the fondant too thick then it should be fine. Check out this cakes for the layering of fondant on fondant.: https://www.howtocookthat.net/public_html/soccer-ball-cake/
thank you!!!
Wow, LOve it!!
Hi Ann, I just wanted to thank you for your instructions and video – my son insisted on a diamond ore Minecraft cake, and I was at a loss until I followed your instructions. It was a great success! A heartfelt thanks ? Amanda